How to Test a Used Glass Aquarium
🐟 How to Test a Used Glass Aquarium
🔍 Step 1: Inspect the Tank
- 👀 Check glass panels – Look for cracks, chips (especially on corners/edges). Small surface scratches are fine, but cracks = unsafe.
- 🧵 Inspect silicone seams – If silicone is yellowed, peeling, brittle, or has gaps, it may leak.
- 📏 Check tank level – Make sure the bottom isn’t warped or twisted.
🧼 Step 2: Clean Before Testing
- 🧽 Rinse the tank with warm water.
- ❌ Don’t use soap or household cleaners (toxic residue).
- 🧴 If needed, use white vinegar to remove hard water stains, algae, or mineral deposits.
💧 Step 3: Leak Test the Aquarium
- 🏠 Do it outside or in a garage (never inside your home on the first fill).
- 📦 Place the tank on a level, solid surface (plywood sheet, concrete floor, etc.).
- 💧 Fill slowly with tap water, 1/4 at a time, checking seams for drips.
- 🕐 Once full, leave it 24–48 hours.
- 🧐 Look for leaks, damp spots, or bulging glass.
🛠 Step 4: Reseal if Needed
- If water seeps through:
- 🧴 Drain & dry the tank completely.
- 🔪 Cut away interior silicone bead (don’t separate glass panels, unless doing a full rebuild).
- 🧽 Clean with razor blade + rubbing alcohol.
- 🧴 Apply a fresh bead of aquarium-safe silicone inside the seams.
- 🕐 Cure for 7 days minimum before retesting with water.
✅ Step 5: Safety Checklist Before Adding Fish
- 📏 Tank sits level on a stand with no wobble.
- 🪵 Use a proper aquarium stand or flat solid base (no pressure points).
- 🧯 Tank passes 48-hour leak test.
- 🧴 Only use aquarium-safe silicone (NOT household caulk).
⚠️ Warnings
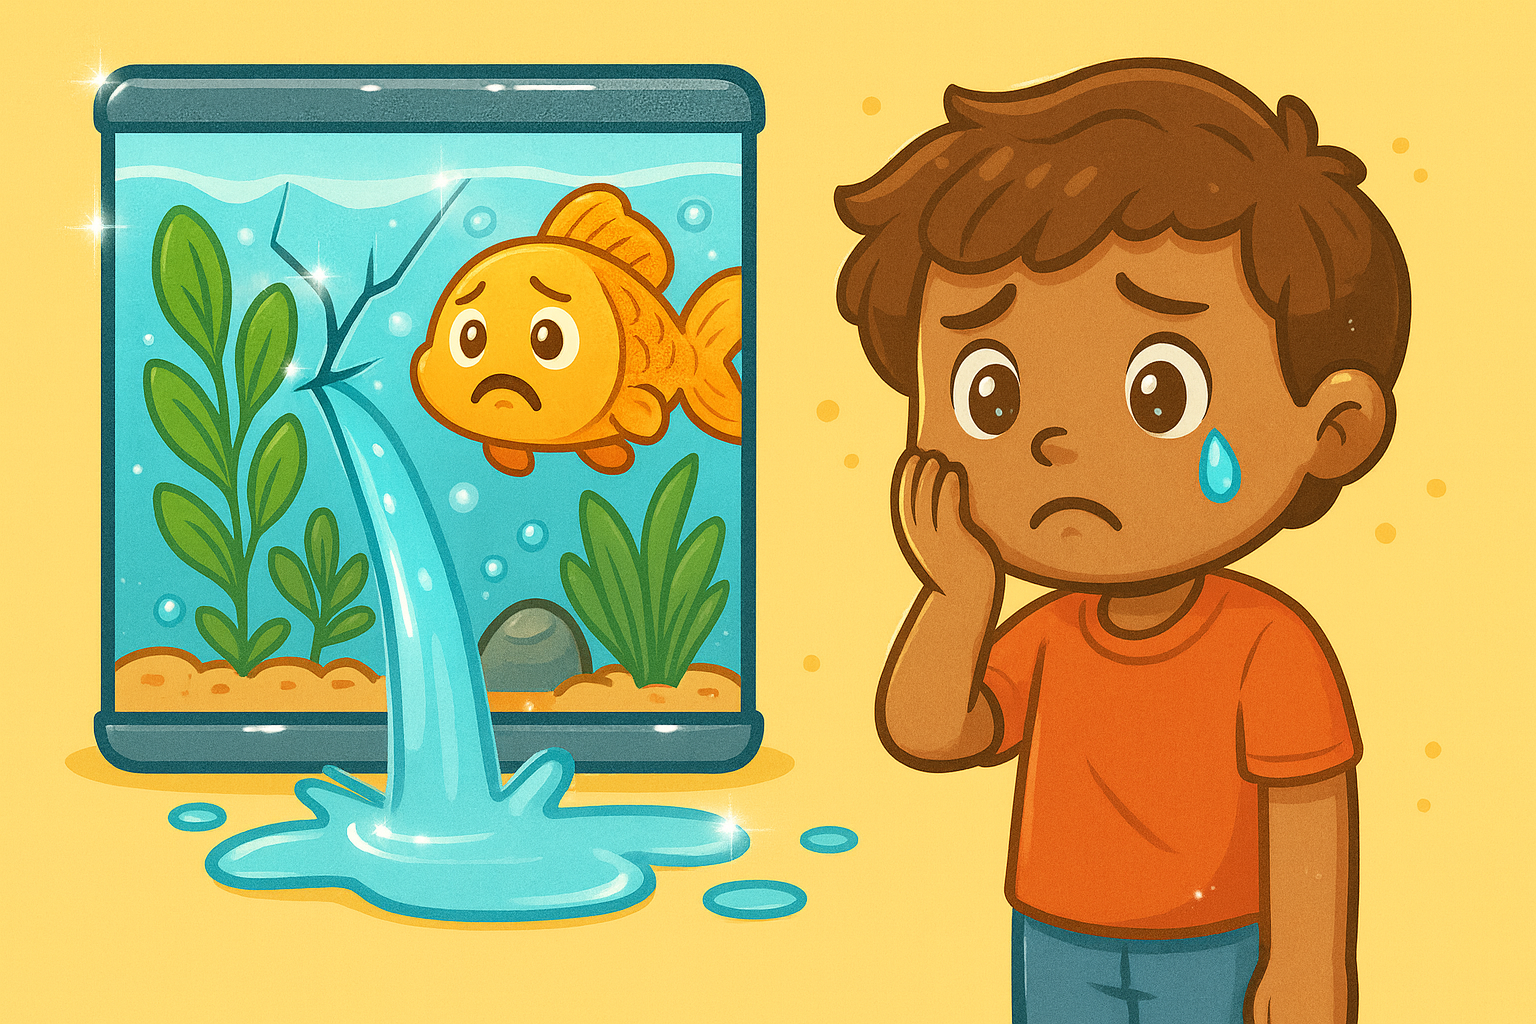
- ❌ Don’t trust an old tank without testing → leaks can destroy floors.
- ❌ Don’t keep using if you see cracks or separating seams → replace instead.
- ✅ Even if a tank passes, keep it on a drip tray or mat indoors for extra safety.
🐟 Final Tip
Always test a used aquarium outside first for 48 hours, reseal if seams look old, and only bring it inside once you’re 100% sure it holds water.

Powered by Lightspeed
Display prices in:USD