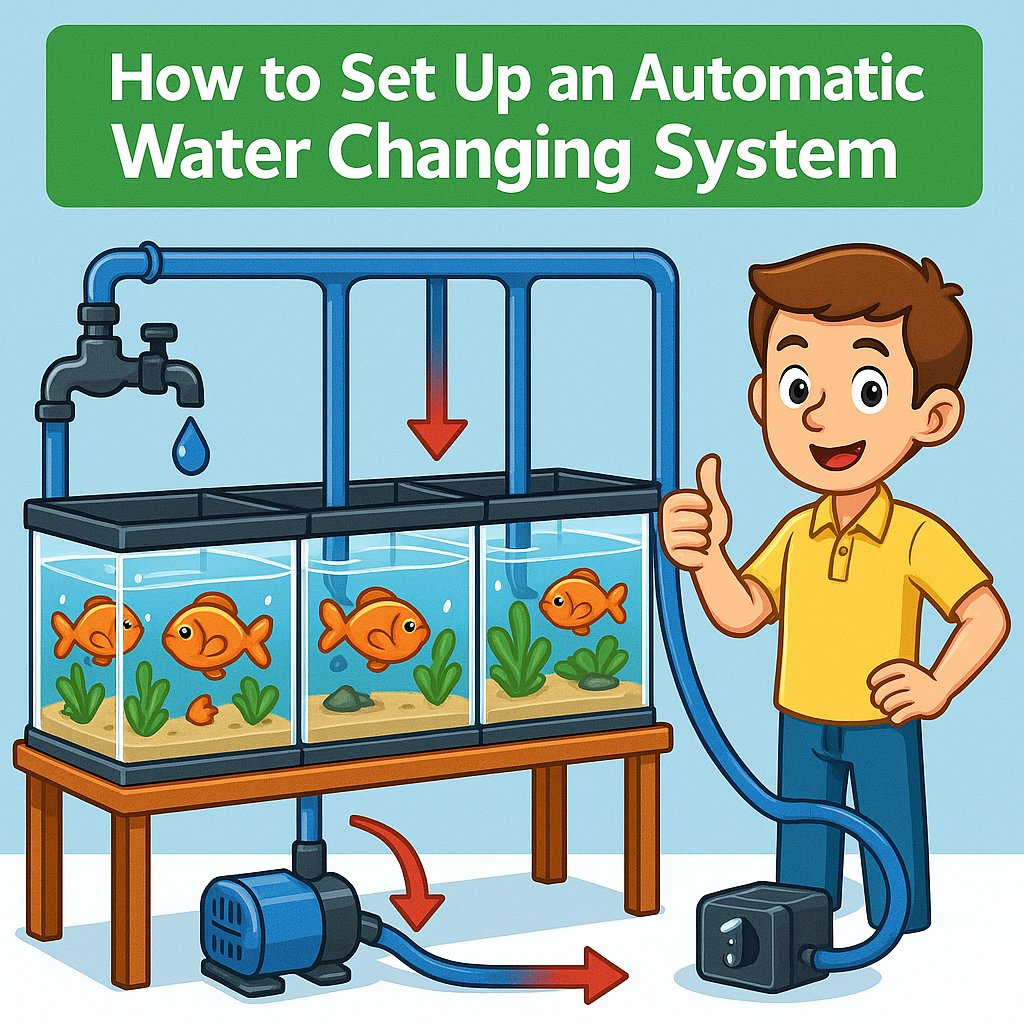
Automatic Water Change System for Multiple Aquariums
💧 Automatic Water Change System for Multiple Aquariums
🏗️ Core Components You’ll Need
🔹 Freshwater Supply Line 🚰
- From tap (with chlorine/chloramine filter) or an RO/DI system.
- Use PEX, PVC, or polyethylene tubing (¼"–½") to carry water.
- Add pressure regulator if water pressure is too high (>60 PSI).
🔹 Distribution Manifold 🔧
- A main PVC/PEX line running across your tanks.
- Branches into individual valves (ball valves or drip emitters).
- Allows you to fine-tune flow for each aquarium.
🔹 Float Valves (Auto Shut-Off) 🛑
- Installed in each tank to prevent overflow.
- Options: mechanical floats (like toilet valves) or optical/electronic ATO sensors.
🔹 Drainage System 🕳️
- Drilled bulkheads & standpipes OR PVC siphon overflows.
- Connect all tanks to a central 1.5–2" PVC drain pipe → floor drain, laundry tub, or sump pit.
🔹 Automation Add-Ons ⚡
- Solenoid valves connected to a timer → controls water flow.
- Flow restrictors or drip emitters → keep system balanced.
- Check valves → prevent back-siphoning.
🛠️ Step-By-Step Setup
1️⃣ Freshwater Input 🚰
- Run a main line from your water source (tap, RO/DI, storage barrel).
- Add:
- 🧴 Sediment & carbon filter → removes chlorine/chloramine.
- 💊 Optional auto-dosing pump (like a peristaltic pump with Prime or Safe) if you prefer chemical dechlorination.
- ⚡ Booster pump for RO/DI units if needed.
2️⃣ Distribution Header Line 🔧
- Install a PVC/PEX pipe horizontally above or behind your tanks.
- Add tee fittings with small shutoff valves for each tank.
- Connect ¼" tubing → run directly to each aquarium.
- Attach tubing to float valve or drip emitter inside tank.
3️⃣ Tank Fill System 🐠
- Float Valve Method
- Each tank gets a float valve that opens/closes automatically.
- Example: Hudson Valve (for big tanks) or small ATO float valves.
- Drip Emitter Method
- A slow, continuous drip enters tanks (balanced by drainage).
4️⃣ Drain System 💦
- Drill each tank OR use PVC “U-Tube” overflows.
- Place standpipes at your desired water level.
- Connect all drains into a main PVC line (sloped slightly downward).
- Route main line → floor drain, utility sink, sump pit, or outdoor outlet.
⚠️ Always include a trap/air gap to prevent sewer gas or backflow.
5️⃣ Automation & Scheduling ⏱️
- Continuous Drip (simple, reliable)
- Water drips 24/7 into tanks.
- Old water overflows → drain line.
- Timed Fill (solenoid + float valves)
- Solenoid valve opens via digital timer (e.g., 1 hour daily).
- Fills tanks until floats shut water off.
- Hybrid Setup
- Drip for stability + timed flushes for extra refresh.
⚙️ System Configurations
🔹 Continuous Drip System 💧
✅ Pros: Simple, stable water quality, little risk of overflow.
❌ Cons: Uses more water, slower for large fish rooms.
🔹 Batch Fill with Timer + Float ⏱️
✅ Pros: More controlled, less waste.
❌ Cons: More moving parts → floats/timers can fail.
💵 Estimated Costs
- PVC/PEX pipe & fittings → $50–100
- Float valves (per tank) → $8–15 each
- Filters (sediment + carbon) → $50
- Solenoid valve + timer → $40–60
- Drain plumbing → $50–150
➡️ Typical multi-tank setup: $200–400 depending on size.
🌟 Pro Tips for Success
- 🧯 Always keep a manual shutoff valve on the main line.
- 🧪 Test chlorine/chloramine removal before trusting system.
- 🛠️ Build modular → unions in PVC make repairs easy.
- 🐟 Start with 1–2 tanks, then expand once proven.
- ⚡ Add a Wi-Fi leak detector near the drain for extra safety.

Powered by Lightspeed
Display prices in:USD